Thursday, December 27, 2012

Pancit (Filipino Noodle Dish)

This is one of my favorite dish, can never get enough of this! Please don't ask me for amounts to use of each ingredient cause this is one of those dishes that you learn with practice. This is also one of those dishes that I can't make in small batches, I don't know how to. I learned how to make this in batches like this or larger when my dad made it for family get together or parties, and when I try to make it in smaller batches it just doesn't work for me, hahahaha. My wife says I need to learn my fractions again LOL.

Ingredients 
  • Chinese sausage
  • side pork or pork belly
  • shrimp
  • carrots
  • cabbage
  • onions
  • garlic
  • oyster sauce
  • soy sauce
  • Achuete (annatto) powder
  • broth (beef, chicken or vegetable)
  • Bihon noodle (rice noodles)
  • Canton noodles (flour noodles - yellow)
  • salt and pepper
This is a package of Chinese sausage, we usually find it at an Asian store.


This is what the Chinese sausage looks like
Cut up the chinese sausage


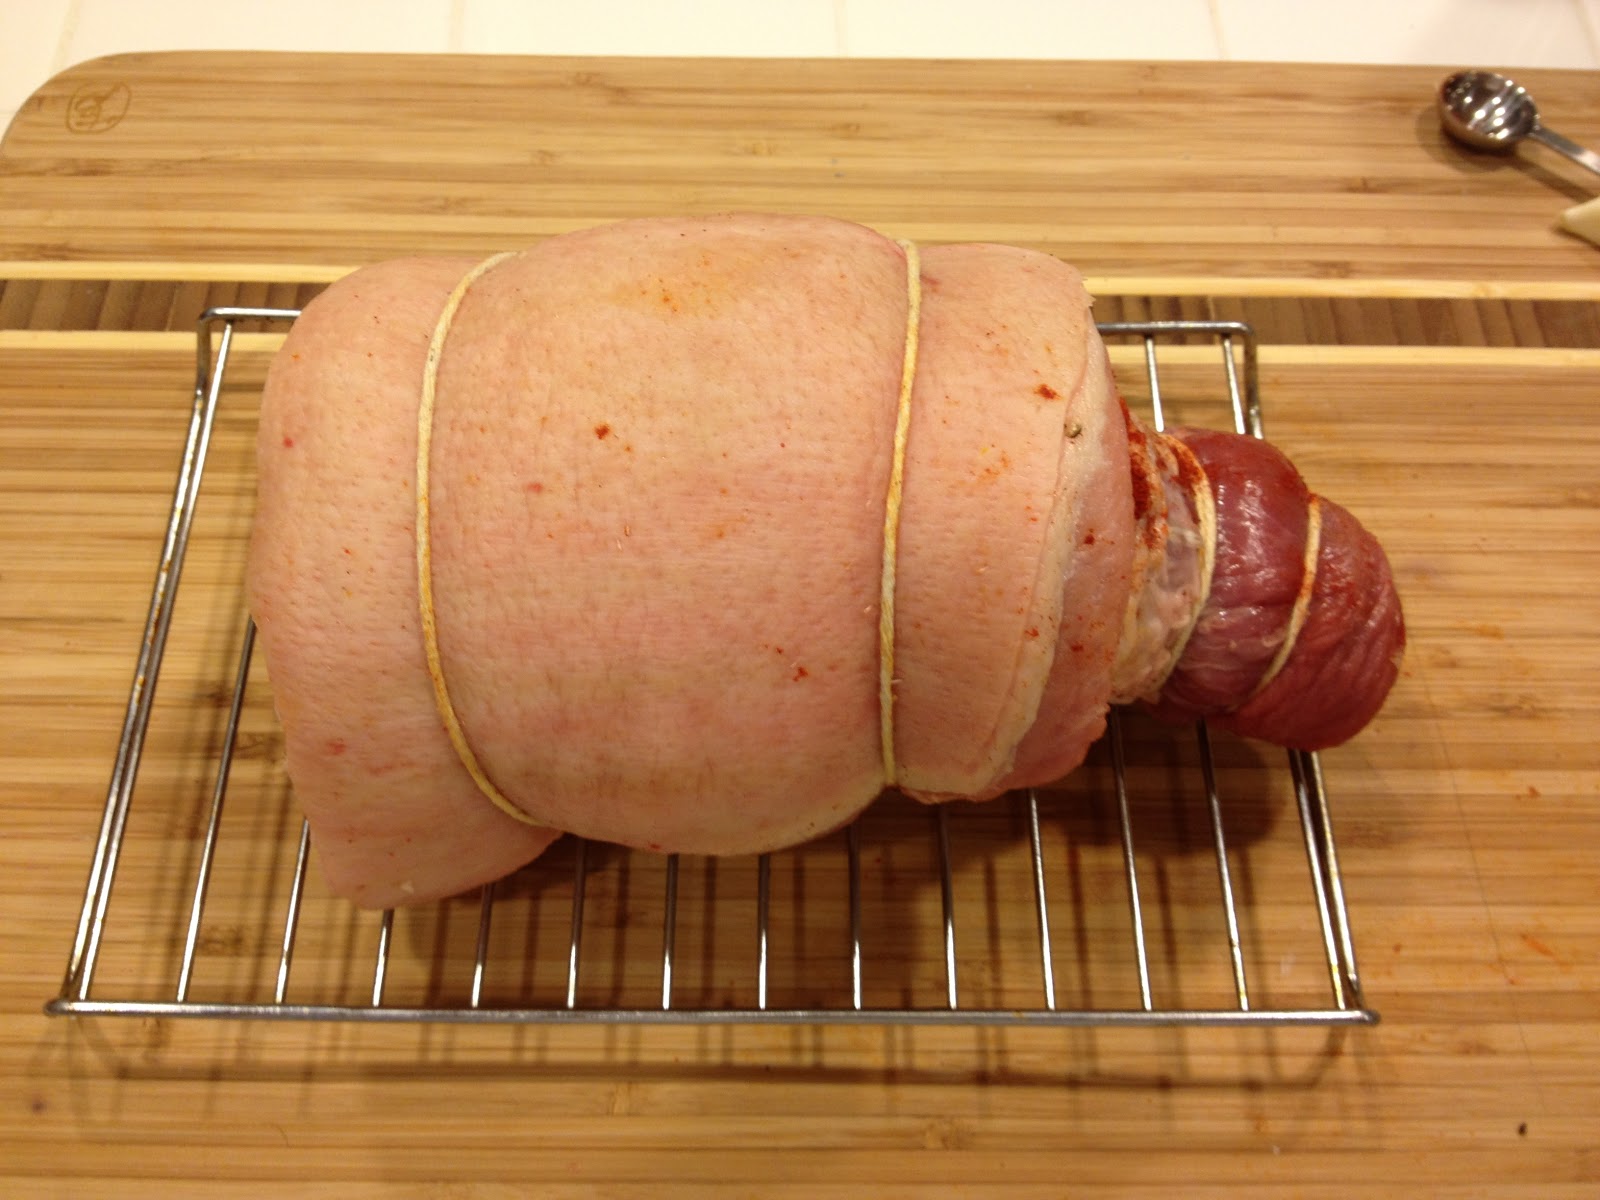
We used side pork or pork belly for our pancit
Cut the pork into slices...
then cut the slices...
Peel and cut your carrots. We cut it a little fancy this time but we usually don't.
Peel and clean shrimp. You don't have to get really large shrimp since they will be cut up anyways, we used size 25-31.
Cut up the shrimp
We use a wok for cooking but you can use a regular pot. Brown the pork then add the onions.
When the onions have sweated a bit, mix them with the pork then add the garlic.
When the garlic has browned, mix then add the Chinese sausage
Mix in the Chinese sausage then add the shrimp
When the shrimp has turned pick mix with the rest of the ingredients then add salt, pepper, oyster sauce and soy sauce.
This is a package of Achuete (annatto) powder
Next add annatto powder, for color and flavor
Add the carrots...
Add chopped cabbage...
Mix all the ingredients together...
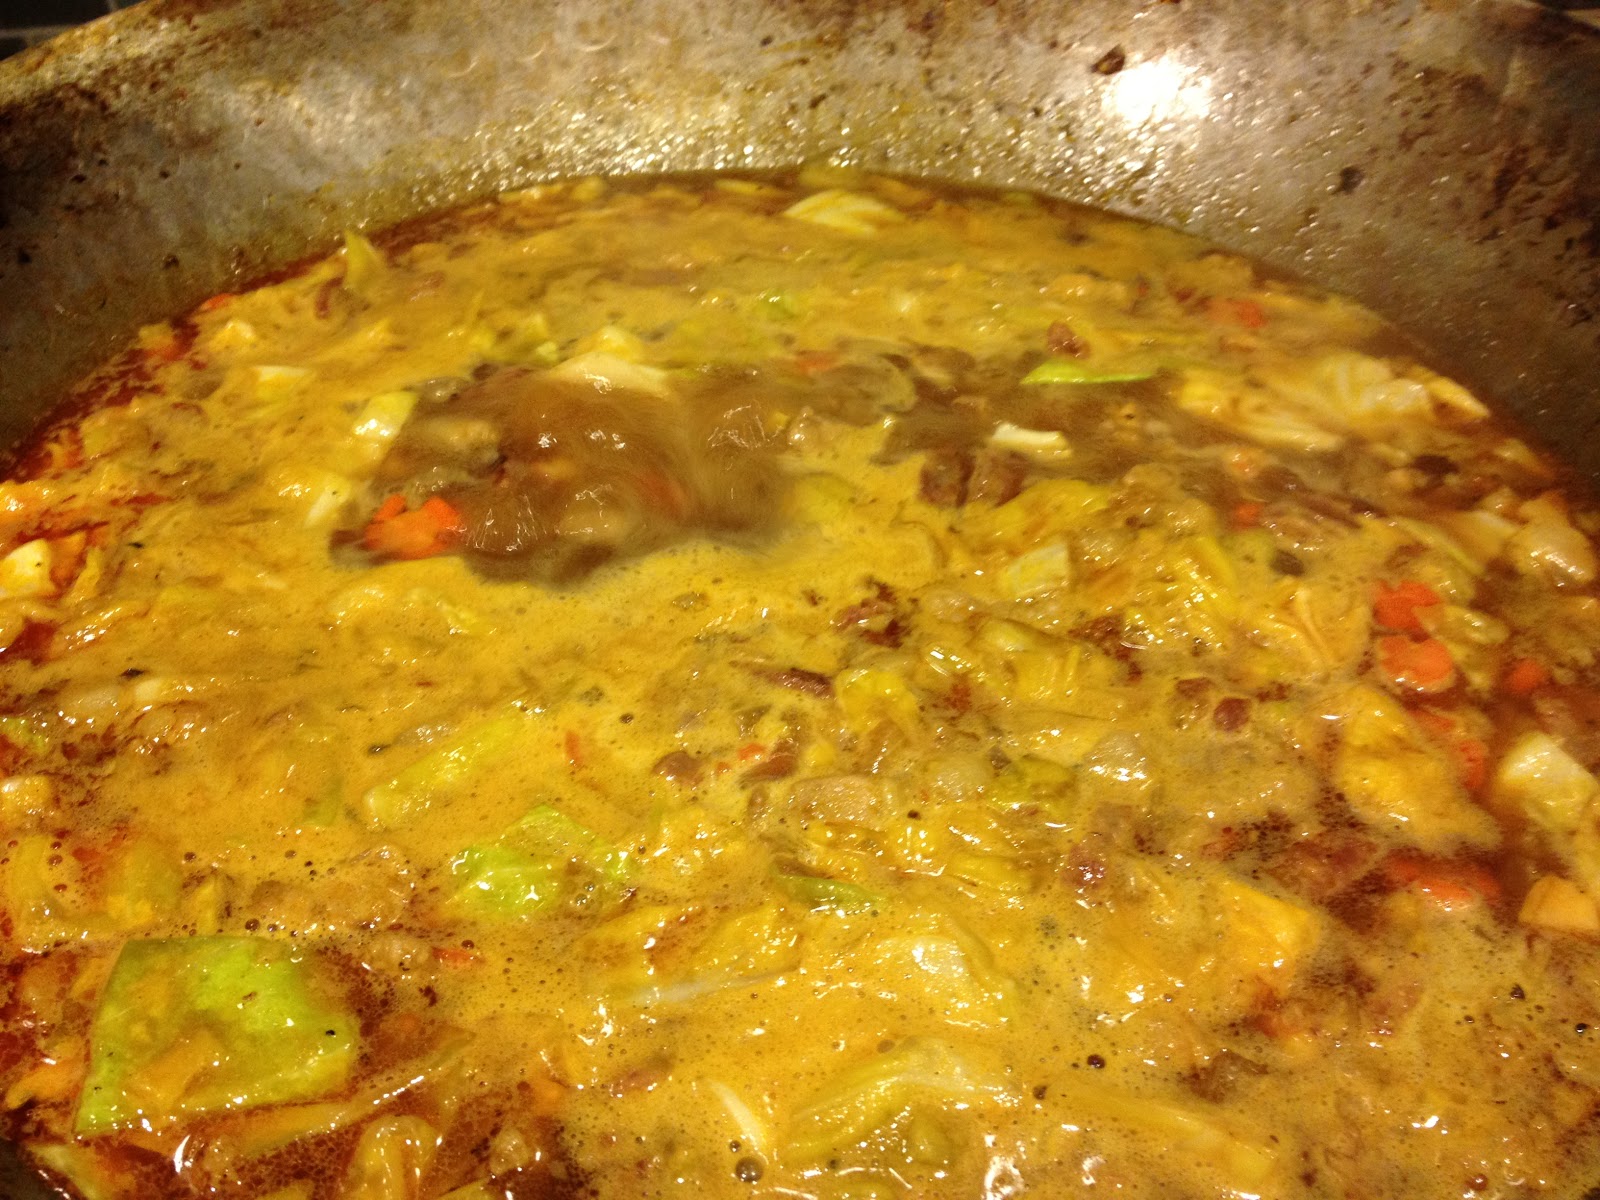
Add broth, you can use chicken, beef or vegetable broth, I used chicken here. It's what we had available.


Bring to a boil. Taste the liquid for season, add seasoning as necessary
We use two kinds of noodles for our pancit. This is Bihon noodle or rice noodles.
This is Pancit Canton noodles or flour noodle (yellow color). We use the Excellent brand for our pancit. We've used it for years and it's always had the best results but there are other brands available.


We recommend that you place a fourth to half of the liquid in a sauce pan and put in low heat in another burner to keep it warm. This will ensure that you don't have too much liquid and can add the liquid back as needed. Put in the package of rice noodles (bihon). Mix the noodles in with the ingredients. Add the liquid from the sauce pan if needed to cook the noodles.
We usually use half the package of the flour noodles (canton). Mix the flour noodles in, again adding liquid as needed. You want the noodles to be soft and not crunchy but not soggy.
Mix until both noodles and the other ingredients are evenly distributed then you're done. Ready to serve.

Thursday, December 20, 2012

Smoked Paprika Pork Belly Roast

My brother makes this great pork belly that he put on the rotisserie in his bbq. I wanted to try and come up with a pork belly dish that I could cook in the oven. The ideas just slowly came to me as I began to prepare the meat. I put the garlic to help season the meat and I just used smoked paprika on the deviled eggs, I really liked it, so decided to use that. The resulting dish was very moist and flavorful meat and crispy skin. In the future though, I would probably roast the garlic first before putting it on the meat to infuse it's flavor more into the meat.

Ingredients 
  • pork belly
  • garlic cloves
  • smoked paprika
  • salt and pepper
We start with pork belly. You may not be able to get pork belly from your local supermarket but you can try and ask the butcher. We get ours from an asian store.
The pork belly should have the skin still attached to it.
Cut slits into the meat and insert whole peeled
garlic cloves. Place about 6 to 8 cloves of garlic
Season with salt and pepper
Liberally sprinkle smoked paprika all
over the meat side of the pork belly.
Roll up and tie with twine
the look from the other side of the roll
place the roll on a rack
Brush on oil on the pork belly skin. Place the rack in a pan and place in the stove. Put watch in the pan. Roast at 375° for 60 to 90 minutes then raise the temperature to 500° for 20 to 30 minutes to crisp up the skin.
During the whole roasting process, use a spray bottle and spray the whole skin with water. This will make the skin come out more crispy.
Cut the pork into slices. The result is a very moist pork meat with hints of smoked paprika and crispy outer skin.

Wednesday, December 19, 2012

Chorizo and Smoked Paprika Deviled Eggs

I wanted to make deviled eggs but with a new or different twist. The thought that came to my mind was chorizo and I've been using smoked paprika in other dishes lately so I thought I'd use that also. It ended up to be a very good combination.  It came out to be a creamy chorizo eggs with a touch of spice and smokey flavor.

Ingredients 
  • Cured Spanish Chorizo
  • eggs
  • onions
  • smoked paprika
  • mayo
  • salt and pepper
We use cured Spanish Chorizo


Make some hard boil eggs then peel, cut in half and take out the egg yolks
Save the egg yolks
Dice the chorizo into about ¼" cubes then put in a pan over low heat. Slowly heat the chorizo until you render oil from them.
Next dice some onions
Add the onions to the chorizo, cook them together with the onions absorbing the flavor of the render chorizo oil.
Mash up the egg yolks
Add the Chorizo and onion mix to the egg yolks
Add smoked paprika and a bit of your choice of hot sauce. Add just enough hot sauce to suit your taste
add mayo...
Mix until all the ingredients are uniformly mixed. Then using a small ice cream scoop or teaspoon, evenly divide the mix into the white egg halves.
The result is a chorizo deviled egg with a touch of spice and smoke flavor

Saturday, December 15, 2012

Homemade Peppermint Marshmallow

I have heard about homemade marshmallow for a long time but have never made it. I've wanted to make it all this time and now I have finally done it. The result was nothing like the store bought version. It had a very fluffy texture and a very fresh taste and very good peppermint flavor.

Ingredients 
  • 1 cup corn syrup
  • 1½cup granulated sugar
  • 2½ tablespoon unflavored gelatin (3 envelopes)
  • ½ cup cold water
  • ¼ teaspoon salt
  • ½ cup water
  • 1 teaspoon peppermint extract
  • a few drops food coloring
  • butter for greasing
  • powdered sugar for dusting 
Ingredients: 1 cup corn syrup, 1½ cup granulated sugar, 2½ tablespoon unflavored gelatin (3 envelopes), ½ cup cold water, ¼ teaspoon salt, ½ cup water, 1 teaspoon peppermint extract, a few drops of food coloring, butter for greasing, powdered sugar for dusting
Grease and 11x7 pan with butter
Dust the pan with powdered sugar, making sure to dust the whole pan
In a mixer bowl, sprinkle the gelatin on ½ cup cold water. Make sure to slowly sprinkle the gelatin, do not pour at one or the middle of the gelatin won't soften. Set bowl aside to allow gelatin time to soften
In a 2 quart sauce pan, put ½ cup water, granulated sugar, corn syrup and salt. Place your thermometer in the pan. Make sure the probe does not touch not touch the bottom of the pan or you will be measuring the temperature of the pan and not the sugar. Apply low heat.
Stir the mixture until the sugar is completely dissolved.
Bring the mixture to a boil, to 240° without stirring. It will take about 30 minutes.
When the temperature has reached 240°, remove from heat. Put the mixer bowl containing the gelatin on the mixer on low speed and slowly pour the sugar syrup.
Put the mixer on high speed
Mix for 8 - 10 minutes
Mix until it turns white and volume has tripled. Add peppermint and mix another minute
Pour the mixture into the buttered and sugared pan. Wet your hands and pat the mixture down to level it
add a few drops of red food coloring
Run a knife thru the food color to create swirls in the marshmallow. As you can see I got carried away and didn't just create swirls lol. Let it stand uncovered for at least 8 hours


After the marshmallow has had time to set, dust a cutting board with powdered sugar. Remove marshmallow from the pan and flip over on the cutting board.
Using a knife greased with butter and cut the marshmallow into 1" x 1" squares, about 11 rows by 7 columns. Make sure to reapply butter to your knife after every two cut to keep it from sticking.
Time to eat...

This was adapted from a recipe posted on Foodie Friends~*